Making a zine: Software, creativity, and library resources
I made my first zine since 2019. It was a relatively easy process, but it still came with some challenges that I'll share below.
If you're here, I'm assuming you know what a zine is. But for people who don't know: a zine is a tiny folded, often cheaply-printed magazine or booklet containing whatever you want it to. Zines have a very political history as a democratic way for the working class or outsiders to share their insight with the world. They are often cheap to produce and cheap to buy. Their contents range wildly depending on the zine, from ecology to music to anarchist organizing tactics and so, so much more.
So what was mine about?
Well, I'm working on a larger body of work.
Slowly but surely, I'm collecting reference material, taking photos, drawing, painting, and strategizing. I won't say too much about the larger body of work itself, but it's related to myth, relationships we have to the land, and schizophrenia.
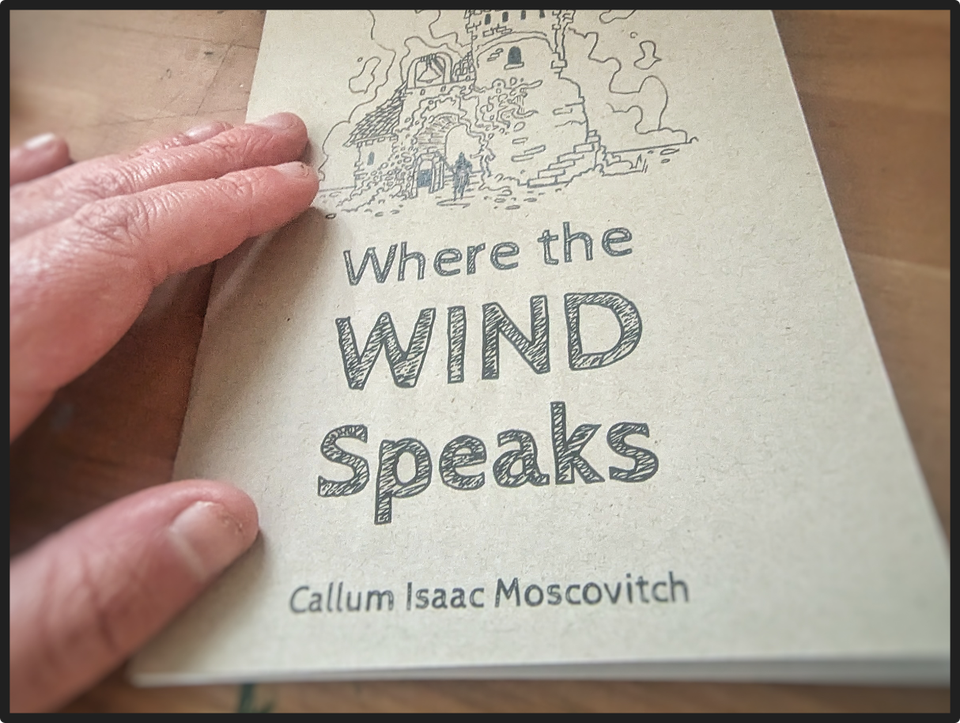
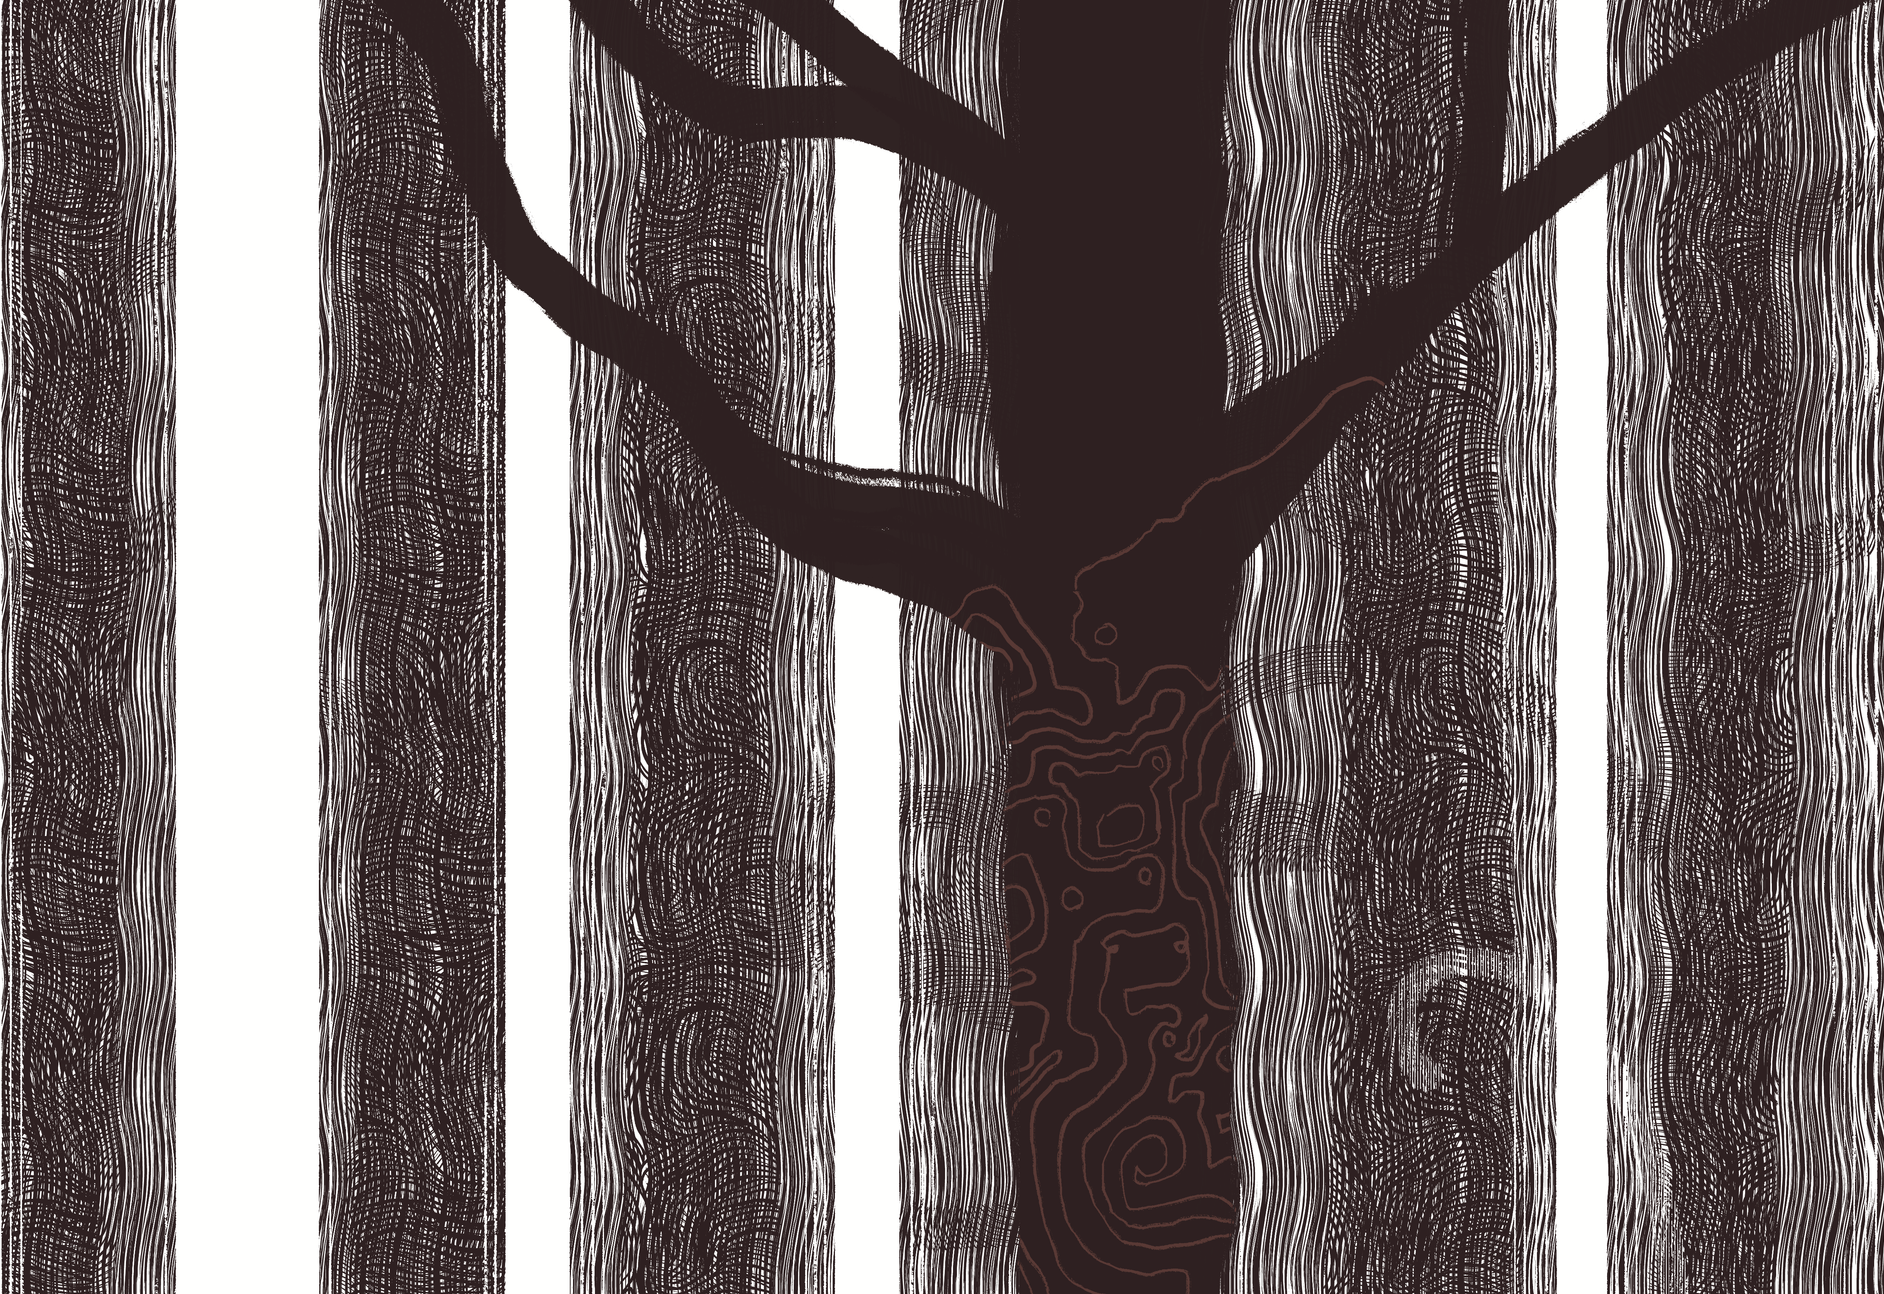
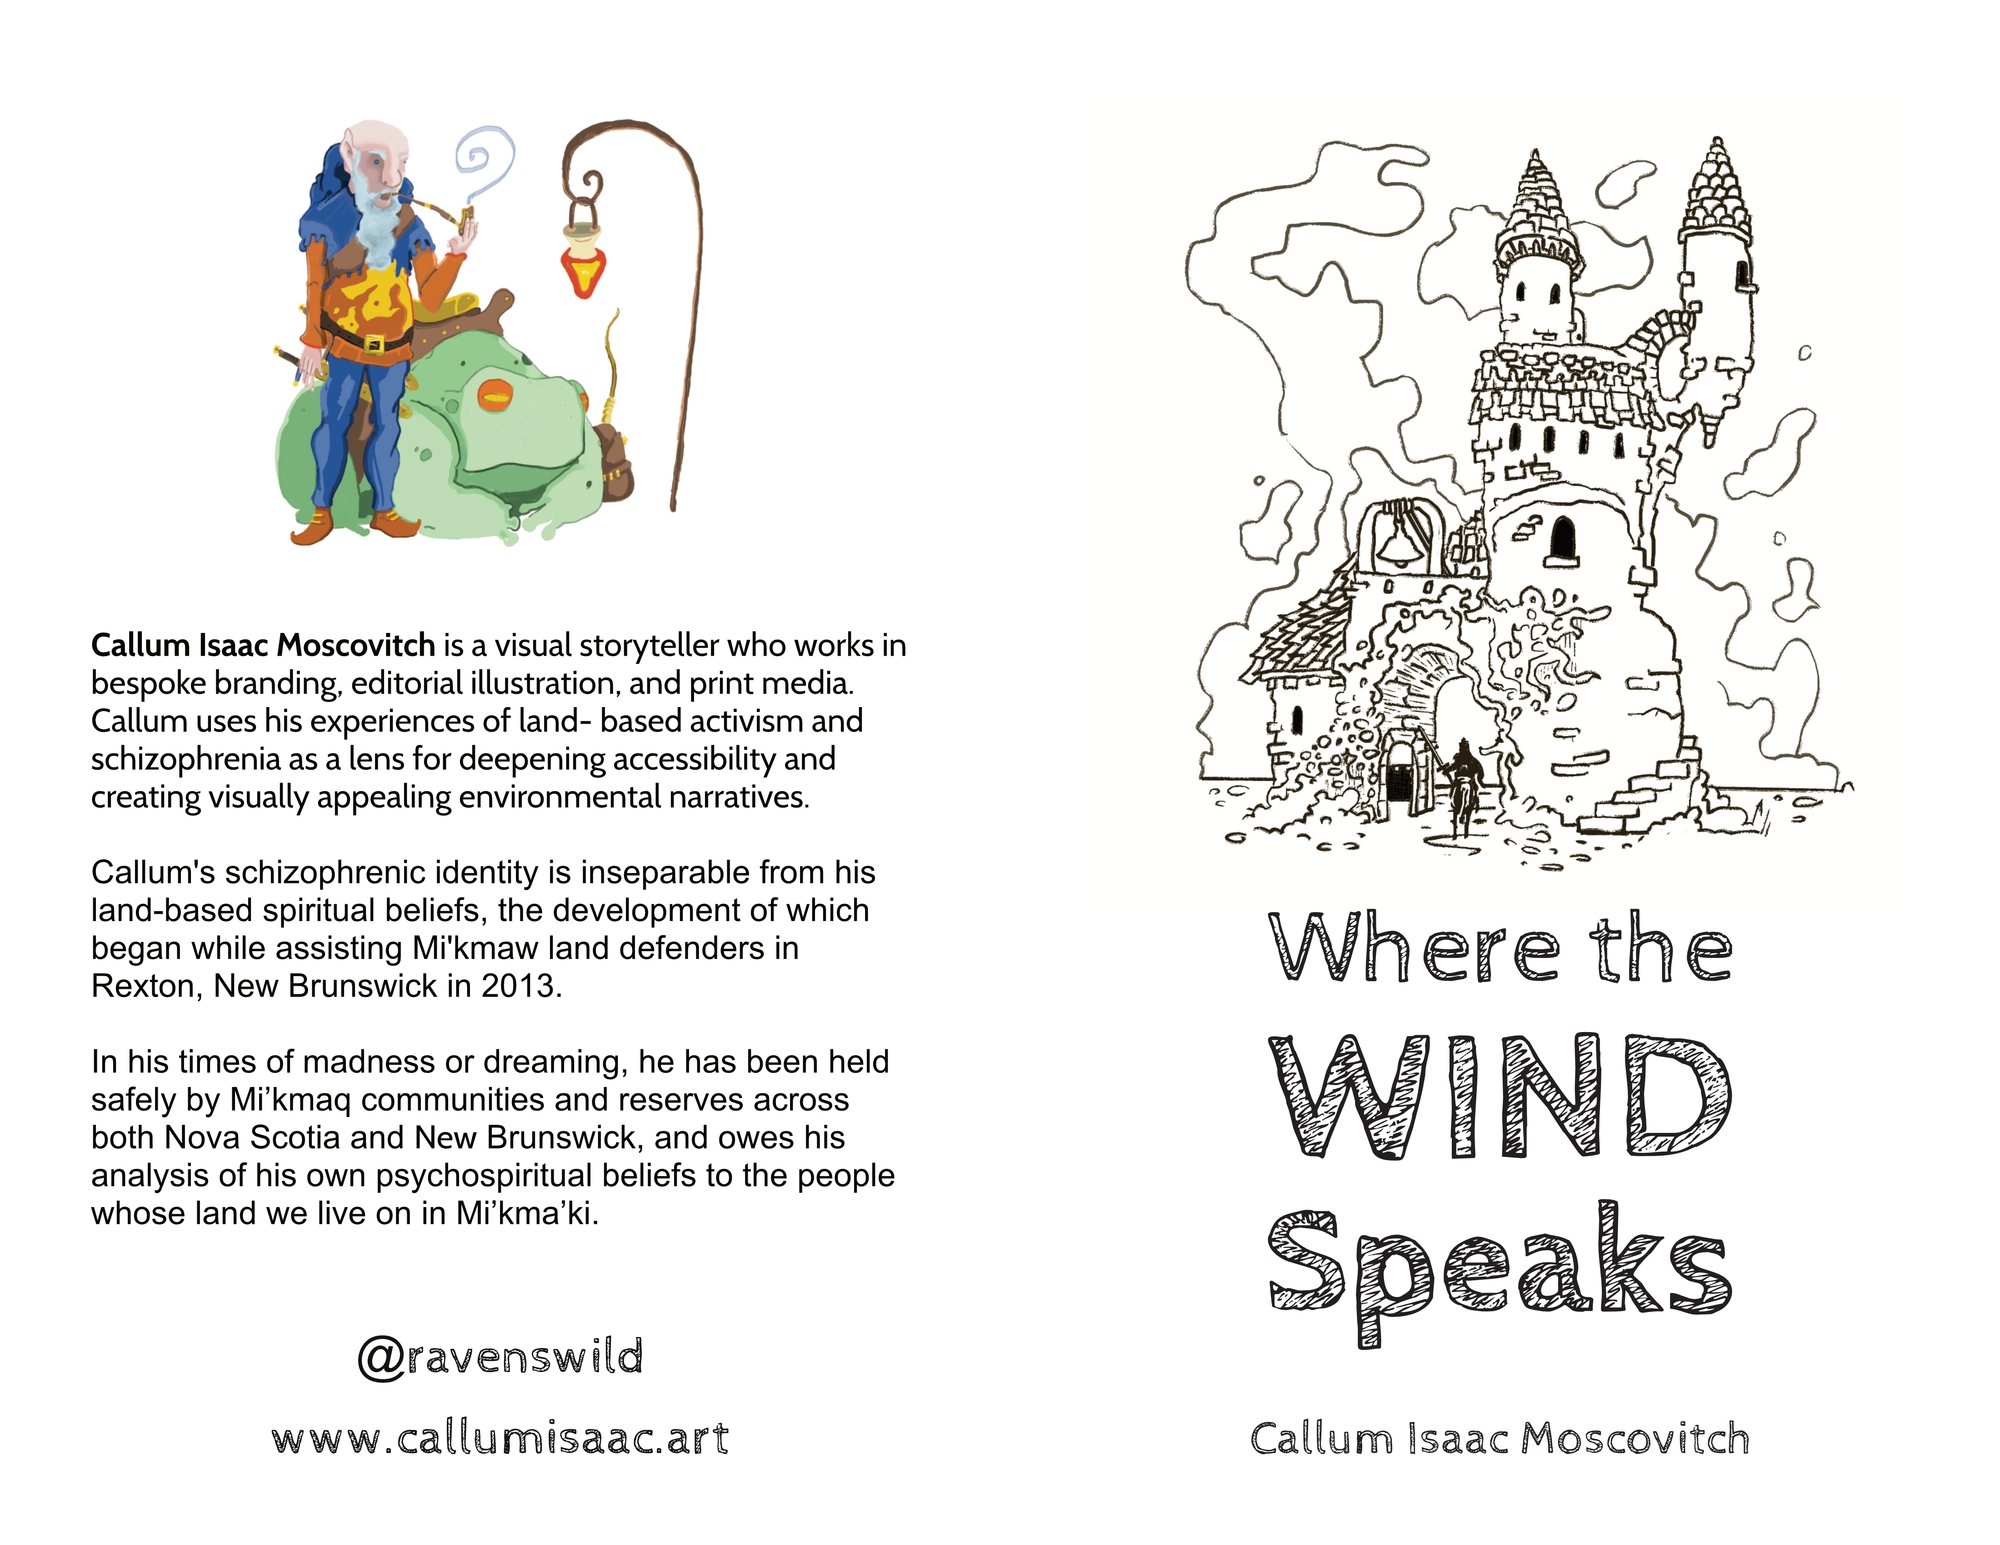
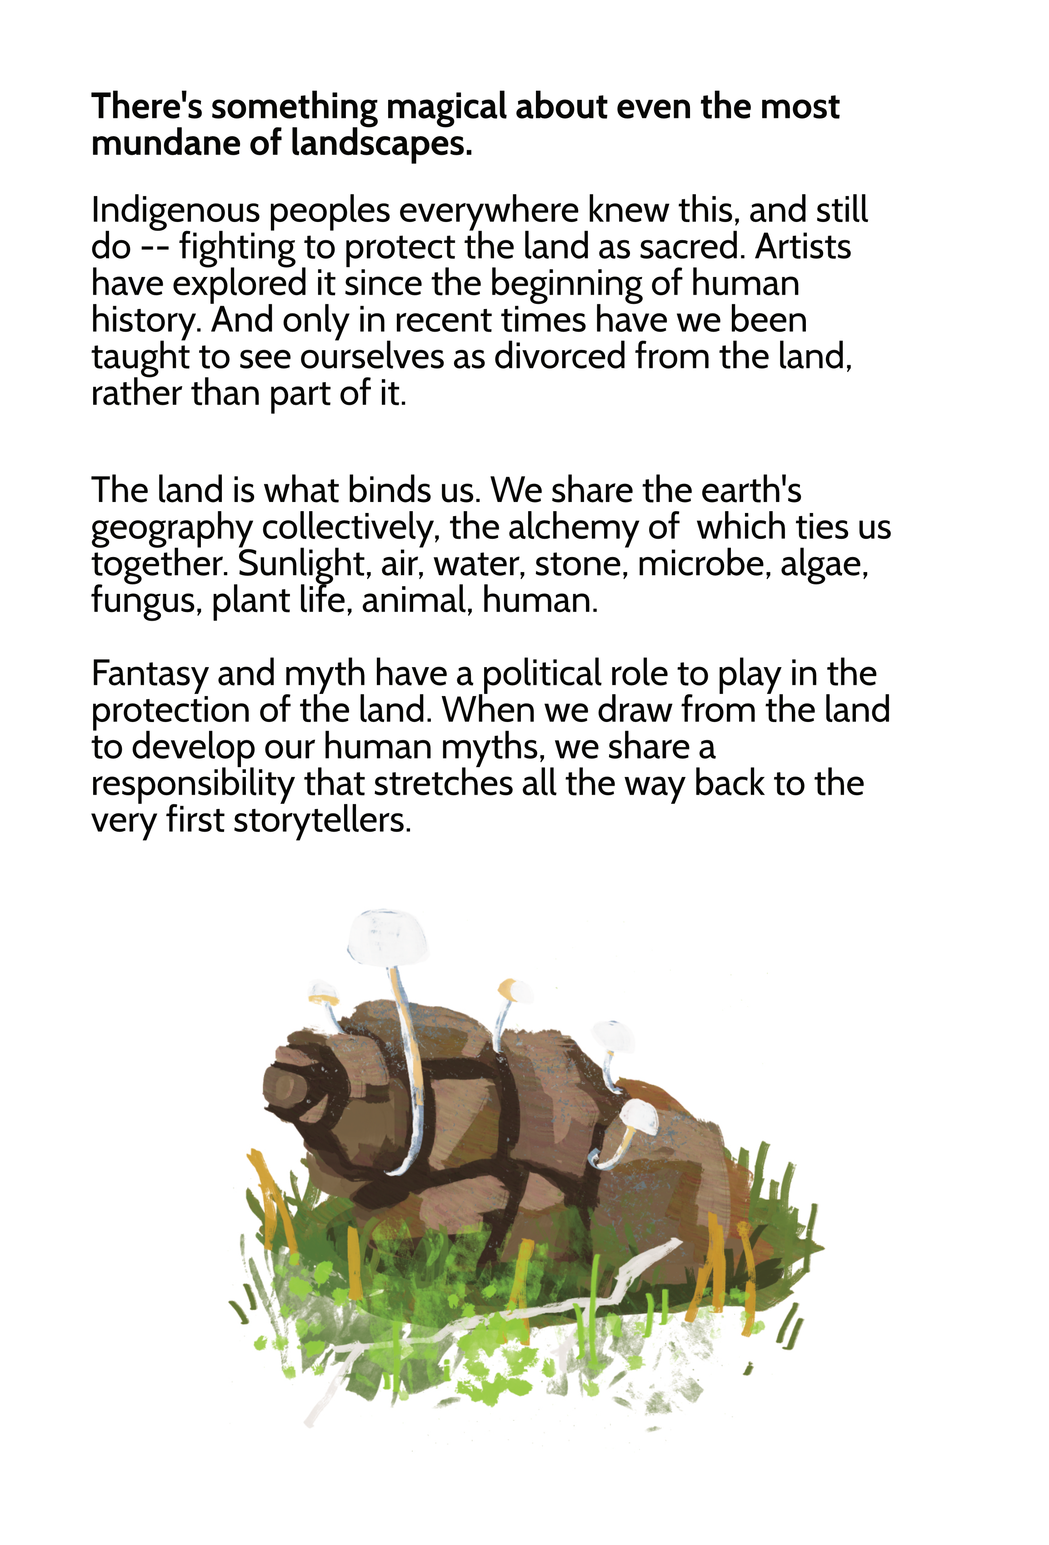
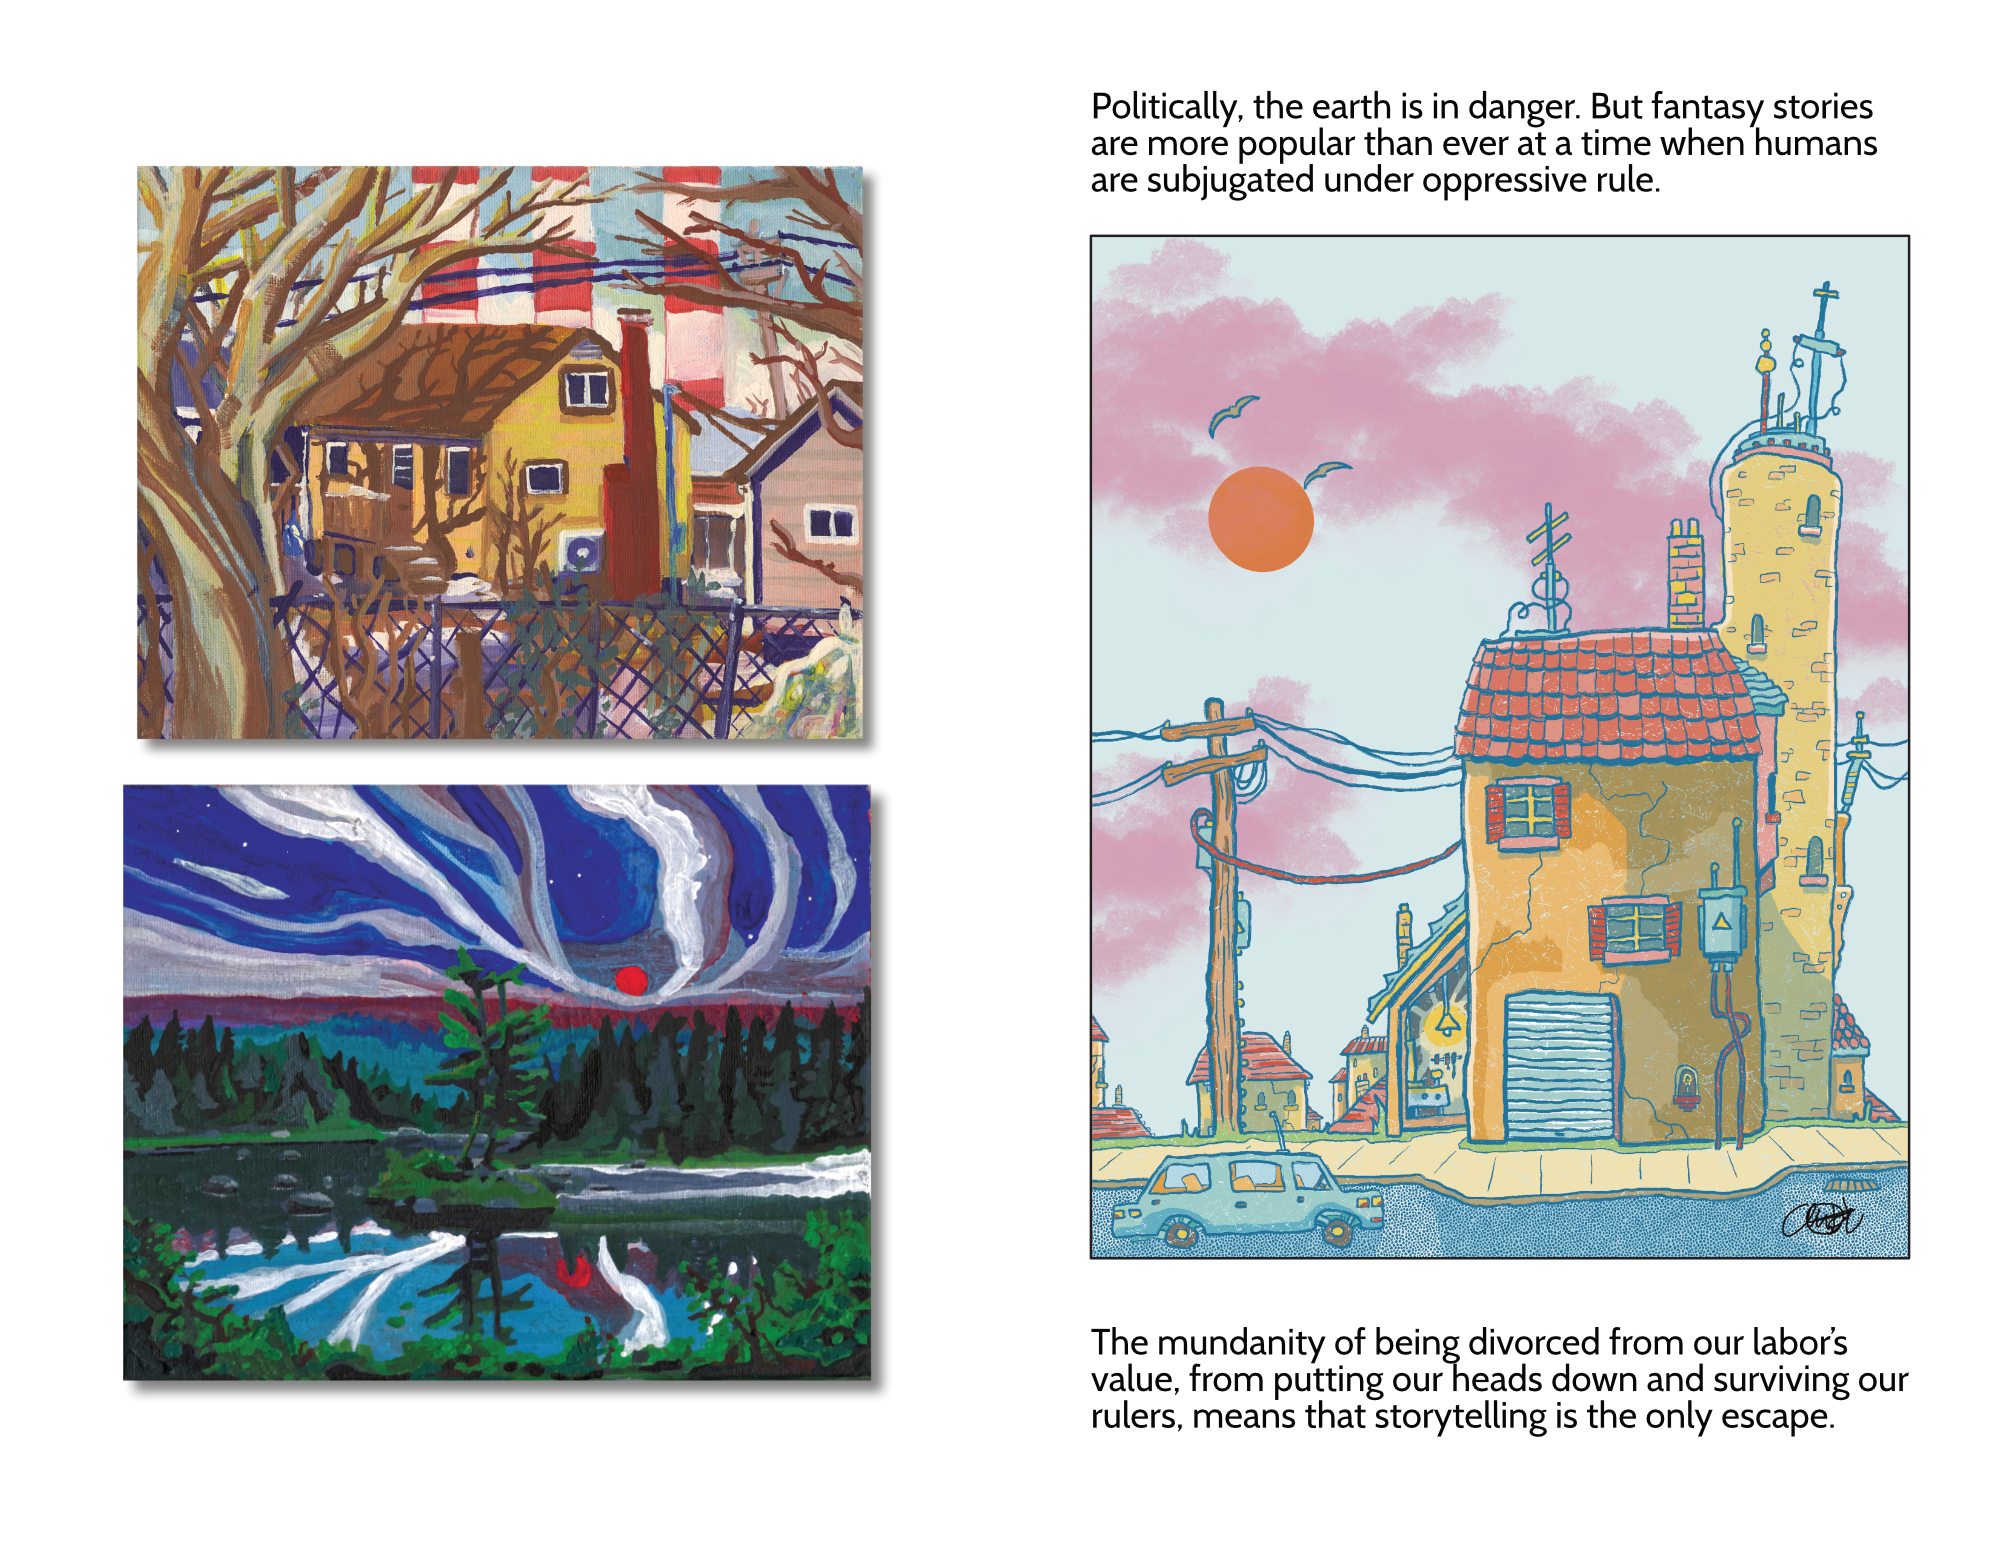
This zine is connected to it–insomuch as it's an early exploration of topics I want to explore–and features a dozen or so landscape paintings, with writing on myth-makers' and storytellers' collective responsibility to the land we live on.
I needed to get ideas out quickly.
I'm often bursting with ideas, and I can barely keep up with my own brain. Making a zine was a way for me to assess the work I've done, see it printed, and examine what still needs to happen before I can start applying for grants to fund my larger project. It took 2 days from start to finish to make the zine (aside from the months of work that went into the images themselves).
Here's a video showing some of the printing process:
To make this zine, I used Affinity V2 on my iPad. Unfortunately no longer available to the general public, Affinity's iPad apps are pretty good for doing design stuff on the move. I'm hoping that Affinity (now owned by Canva, and having published a V3 app for Windows and Mac) will release an iPad app at some point too, so newer users can make the most of their free software.
(If you're a dedicated Canva user, I recommend downloading Affinity for free and testing it out. It does so, so much more than Canva can, and in a future blog post, I'll go over some of its features.)
Designing the zine.
Here's where we get into the details.
Booklets of any kind need to have something done to them called Imposition. Because you're folding pages in half and slotting them into each other, the page layout isn't your standard document layout. Here's a quick diagram I made:
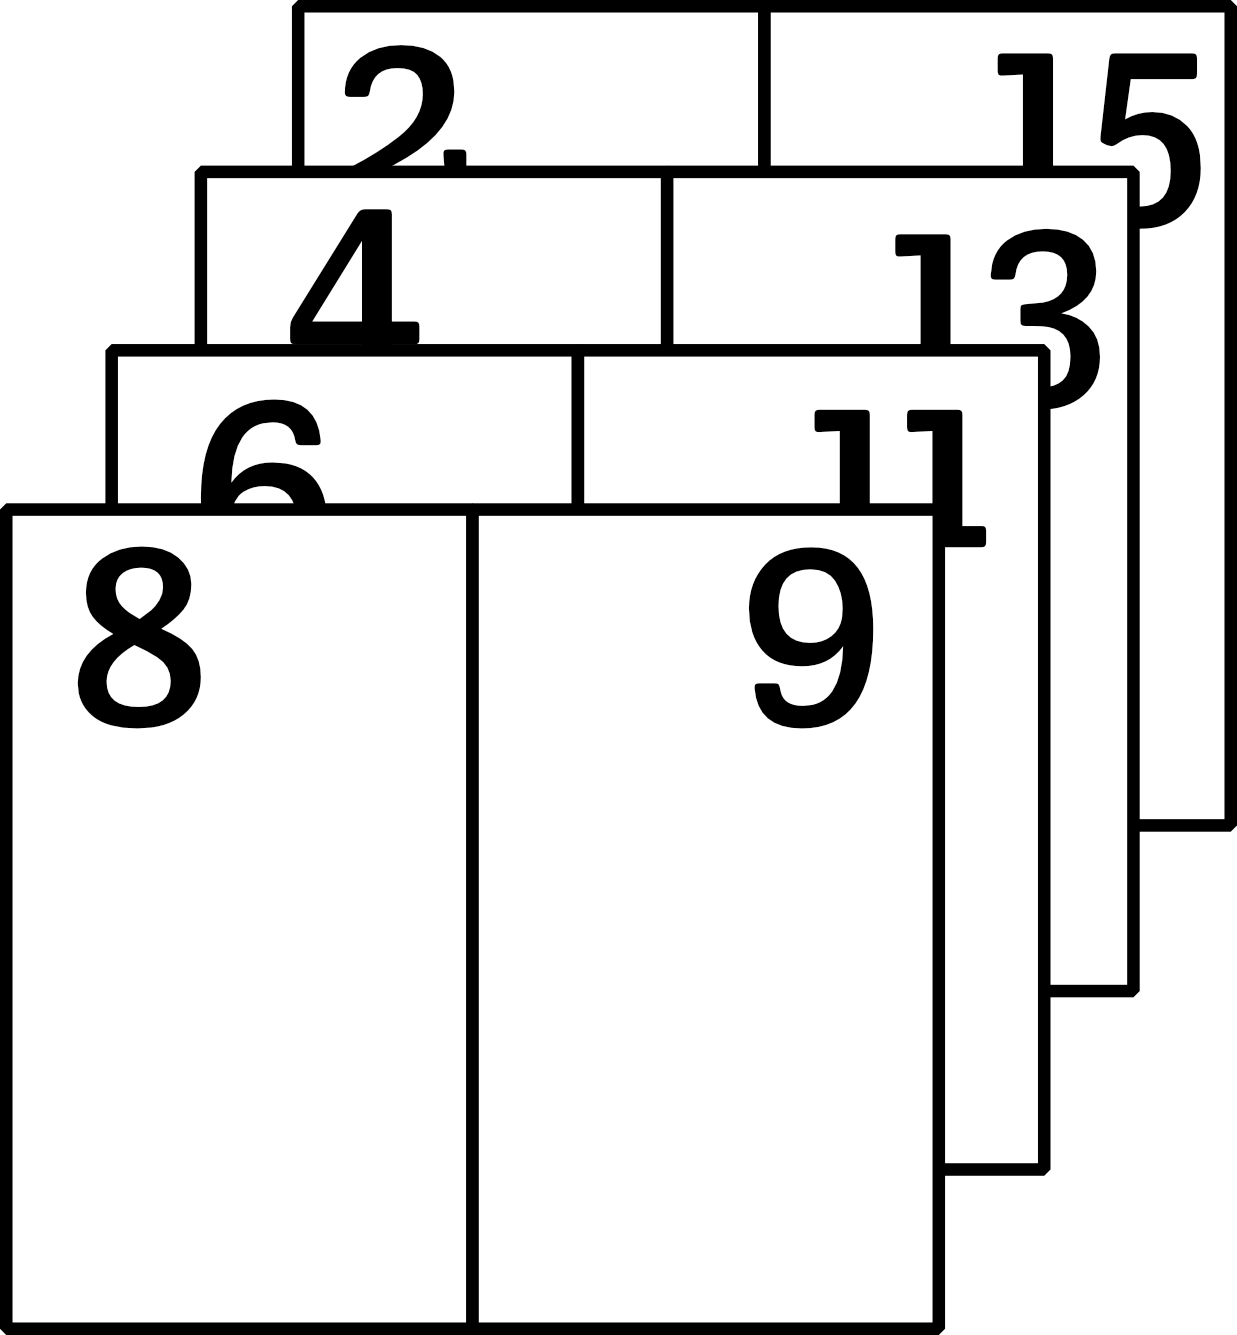
Luckily, there's a free and open-source tool you can use to do this for you.
I used Imposify, a FOSS (Free and Open Source Software) to take my normal-sized document with pages created in order, and impose it for me. It was dead easy. I uploaded my PDF, and downloaded the imposed PDF within seconds.
IMPORTANT NOTE:
Imposify is great, but you still have to do some math here.
Imposify will create spreads (multiple-page sheets) out of your single pages, so if you're printing on standard printer paper (8.5" x 11"), make sure to create your document pages in Affinity at 5.5" (half of 11) x 8.5"
When Imposify fuses 2 pages together to make a spread, the resulting size is 11" x 8.5". (IE a flipped sheet of printer paper that you can now fold)
Printing at the library
After filling the zine with art and writing, and imposing the document using Imposify, it was time to print.
My local library gives you $5 worth of printing credits per month, which I used to run some test prints. Well, actually 1 test print. Colour printing is expensive.
If I keep making these things, I'm going to invest in a printer of my own.
Here's a cost breakdown:
(NOTE: If you're printing with an unfamiliar office printer, don't pick the heaviest cardstock. You want something that won't jam up the printer. I picked a pack that weighed about 65 lb and was cheap)
I then did a full test print of the zine contents:
PRINTER WARNING: The printer decided to flip opposite pages (printing double-sided) so they were upside-down. I stupidly tried fixing this in the printer settings, twice.
Luckily, I'd brought my iPad with me, so I just manually flipped every second page upside-down to appease the printer.
I did one last test print of the contents, and the pages I'd flipped manually worked! The printer printed a full zine.
Grand total for 10 complete zines, + 10 extra covers, + extra cardstock = $64.00
+$4.00 wasted (the library gave me a free print credit to do my second printing test).
I now have a zine.
You can send me an email if you want a copy, and I'll mail you one. Alternatively, join my Supporters tier on Ko-Fi, and you'll get a free copy (plus a different printed thing every month).
Thanks for reading. I hope you go out and print something today.